Ready to get started??
NOTE: For one step you will need the free xyshrinkwrap plugin from creative crash.
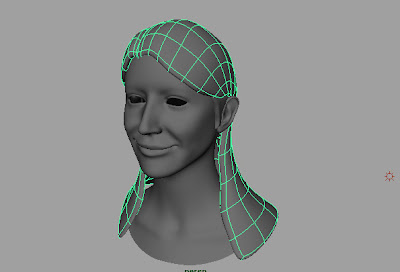
First model your hair volume with a polygon box modeling and press 3 to smooth it.
It may be helpful to model several different sections of your hair. Make sure these smoother polyshapes are basically EXACTLY as you want your hair contour as it's not very easy to change your curves later on.
Select your hair volume and click the "magnet tool" up in the top bar to make it live.
Now go to create>CV curve tool in the top menu and begin laying in hair guides tracing along your subd poly mesh. This will take some time as you need to create quite a few of them. Bring the curve the full length of your hair for each sweep rotating the camera around as needed to position the curves around the head. Hit enter after each strand is finished and then hit "g" to start your next trace (g repeats last tool). Make sure you click more points in small more curvy areas such as the roots so it can properly cling to the contour of your object.
When this is complete for both sides you can hide your poly hair volume to see how your guides are coming overall. If you need to copy a few stands and make the "fly away" ones at the front of the face
Now let's make sure all of the curves originate from the scalp itself instead of floating in the air. Select all of your curves. Now go to the surfaces menu subset, top menu Edit curves>Selection>select first CV on curve. Hold shift and select your face mesh itself. Both the first CV control points and the face are selected.
Run the script xyShrinkWrap which you can download for free at creative crash. This will force all the beginnings of the hair to start from the scalp.
Now group each set of curves and make a duplicate set. Select all the curves in your duplicate set and choose edit curves>modify curve> curl and then move this second set underneath your first set of curves this will give the hair more body rather than just surface.
It's time to turn our curves into hair! That's it for Part 1 GO TO PART 2!!!!


