First download Daz 4.5 pro. It's free.
IMPORANT: In the Daz marketplace there are tons of options for characters etc. HOWEVER when you export from DAZ ONLY the Genesis and M5 characters will transfer the shape morphs all the way to Maya. If you use an M4 model you will get a working Rig, but no face morphs etc.
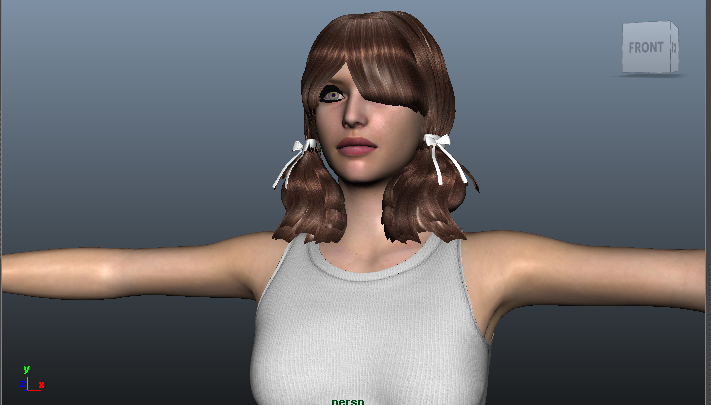
This isn't a DAZ tutorial you will have to figure your way around installing the characters and putting your character together in DAZ (it can be a pain, be patient find your way around the interface)

Once you have your character ready it's time to export. In Daz go to file menu Export
The export dialog comes up make sure to change the "save as type" to FBX.

The FBX options dialog box comes up. Notice the Edit Morph export rules button. We will come back to that but for now let's export the model to see it work. Make sure to change your FBX version to the year of your maya Version. Make the following selections and click accept.
Daz goes through the export process.
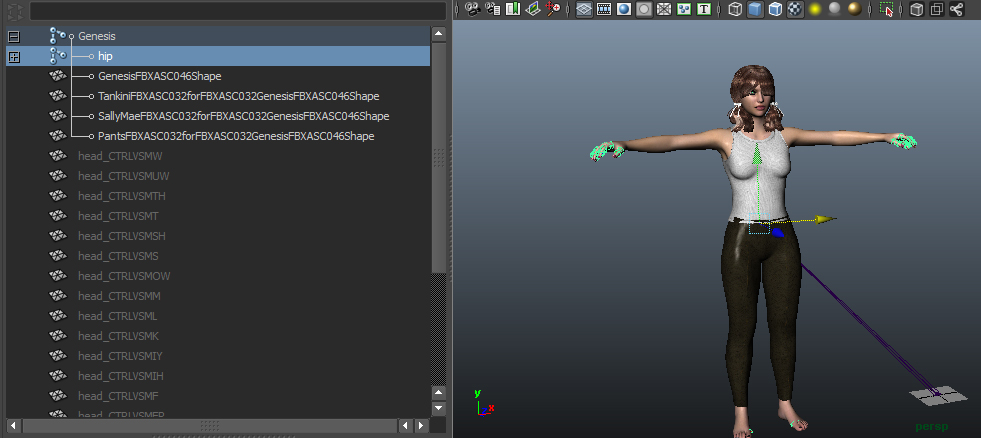
Now let's jump over to Maya. Locate and open your FBX Character.

The model opens very large and seemingly untextured. Just turn on textures in your viewport.

Open your Outliner in Maya. In the top of the viewport Panels menu>Panel>Outliner
Select the root "Gensesis" bone and try to translate (move) your model in the main viewport. It moves but the Rig doesn't move properly with it. Undo that.

Select the Hip bone under the root "Genesis" bone in the outliner. With this bone you can move and animate the character without losing it's rig from this bone. UNDO your changes to return it to it's default position.
Now this is great but let's say we want more than one character in our Maya scene. Currently if we make a variation on our character in DAZ and export it as different Character FBX when we import it into Maya it will OVERWRITE this character. It will not ADD it into the scene WITH this character. We don't want this to happen so here is how to fix that.
In your Maya outliner select the Root bone "Genesis" and rename it to your character name. In my case "GenGirl2"

Now with your Root bone still selected in Maya go to file>export selection. And save your character as a .ma file.
Do this same process for each character in Maya. Now you can import these .ma characters into your scene without overwriting the character.

If you pull up the blendshapes panel you can see we have our phenome morph shapes from the Genesis Character. I will have to write an additional tutorial later about how to get additional morph shapes from Daz.
UPDATE: The characters will work in maya but you need to do some optimizations on the textures if you want them to perform better. They will be pretty sluggish. Check back soon or remind me in the comments below if you are interested in this and i'll try to find some time to post a tutorial.
Please check "HELPFUL" below if it was, if not COMMENT below and tell me why! Don't miss another tutorial or tip! Subscribe to Maya Zest